MyPoints 1278
ProperSoft
Bookkeeping
Country: CA
City:
Social Media Exchange: Yes
Link Exchange: No
Accept Email Offers: Yes
Join Date: --
Click to Visit Our Website
View Storefront
Products: Yes
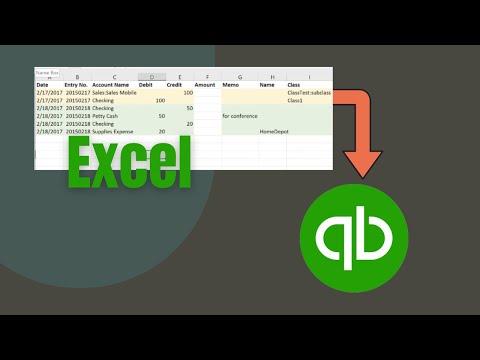
How to use the Transactions app
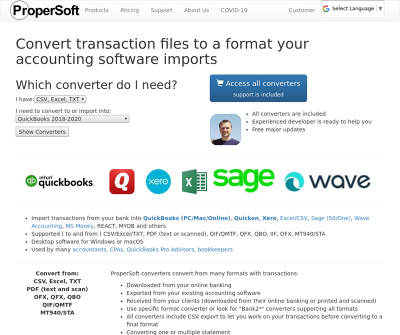
This video shows how to use the Transactions converter. The Transactions app is now merged into the ProperConvert app at https://www.propersoft.net/ 0:00 - Download the Transactions app 0:49 - Start the Transactions app and read the welcome message 1:03 - Select a file with transactions to convert 1:14 - Select the output format 1:34 - Review transactions before converting 1:47 - Set Account ID and Account Type 2:23 - Set the 'Open after save' checkbox 2:41 - Click the 'Convert' button and confirm the file name and the file location 2:57 - Import created QBO file manually in Quickbooks 3:17 - Choose a new or existing account to import and disconnect from Online services 3:47 - Review imported transactions under the Bank Feeds in Quickbooks 3:59 - Match payees to Vendor records, assign expense/income accounts, and add transactions to the register The video outlines the conversion process in general and uses converting to the QBO format and importing into Quickbooks Desktop as a specific example to demonstrate the whole process. For other formats and accounting software examples, please see the tutorials on the support page. To download the Transactions app go to https://www.propersoft.net/ and click 'Products', then click 'Transactions'. Click the 'Download' button and then select Windows or macOS version to download. Once downloaded and installed, start the Transactions app, read the welcome message, that provides the main points about the conversion process, select a file with transactions that you would like to convert. The first thing to do is to select the output format on the right sidebar. It could be QBO/QFX/OFX format, QIF format, IIF format, CSV format. The output format defines the transaction details. Review transactions before converting, make sure dates are correct, expenses are negative and payments to the account are positive. Set the output attributes: Account Name or Account ID, Account Type, and other applicable attributes. If you are converting for multiple accounts, make sure to adjust account properties to avoid importing into a previous account. Please check other tutorials for the specific output format, for more details, for each setting, for that specific format. Set the 'Open after save' checkbox if you would like the software installed on your computer to open the created file, for example, for the QBO files, if you have Quickbooks Desktop installed, it would be Quickbooks to open this QBO file. Click the 'Convert' button and confirm the file name and the file location. To import created QBO file manually in Quickbooks, click 'File' - 'Utilities' - 'Import' - 'Web Connect Files'. Select created QBO file and choose a new or existing account to import. If your account is not listed under an existing account, make sure, that Online services are disabled for this account. Review imported transactions under the Bank Feeds in Quickbooks. Match payees to Vendor records, assign expense/income accounts, and add transactions to the register. See a separate video going into details for QBO file import in Quickbooks. #quickbooks #quicken #xero #bookkeeping

View Video, Then Click Red Button for Tokens
Promote Your Own Videos -- Become A Member!